
The fall is coming in NY so please enjoy a few photos of the autumn colors.


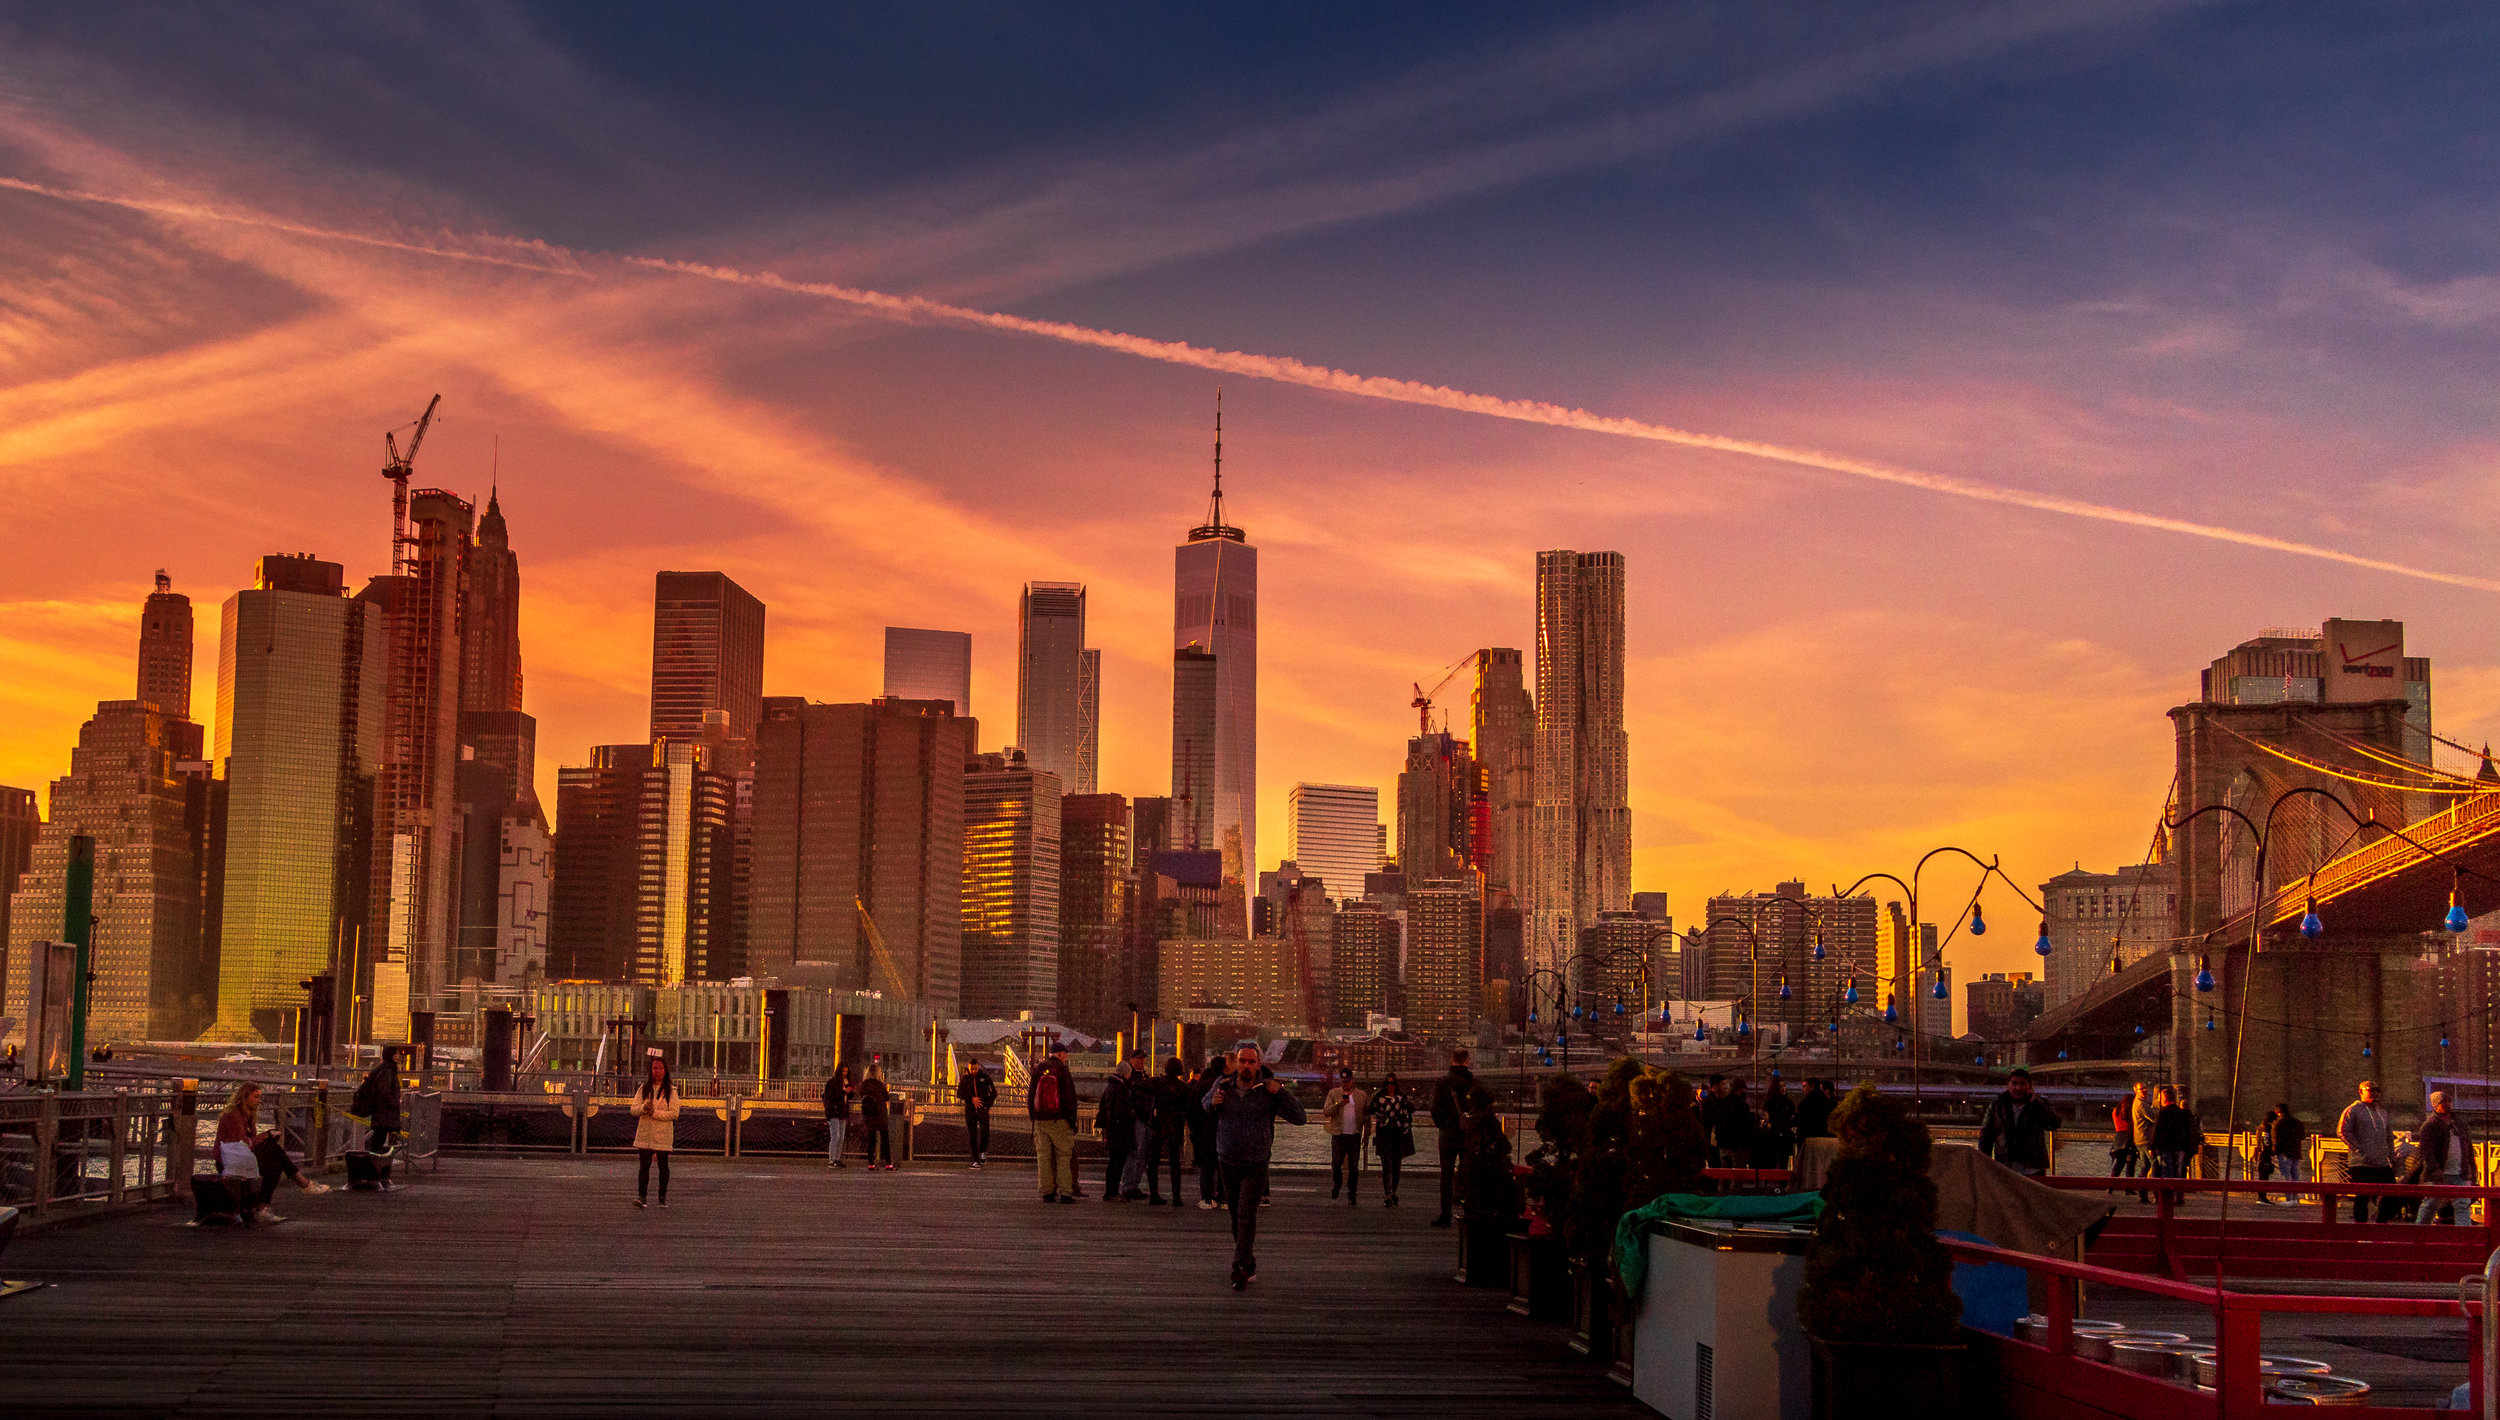
A summer evening in the Battery park
Just a warm summer evening in the Battery park, Manhattan, NY.
These photos were post processed by using Lumenzia V7 https://gregbenzphotography.com/luminosity-masking/luminosity-masking-is-easier-than-ever-with-lumenzia-v7
It helps to use Luminosity masks in Photoshop.


Before and after
In this post I want to show how Serge Ramelli presets and profiles can completely change the whole image with just one click.
As you might know in LR v.7 Adobe has introduced Profiles. It’s a very cool feature that allows completely change the whole image with just one click. Of course it’s doesn’t mean that you have to completely rely on it - it’s just a starting point. But it’s rather changes a mood of the image that can be emphasize by using LR post processing.
So here it is
Brooklyn Bridge
Before
After
Used Natural Every Day presets - Sunset Linear Circle Light
Central Park Waterfall
Before

After - used Natural Every Day presets, Snow Linear Circle Light

Central park lake panorama
Before

After - used Natural Every Day presets - Sunset Linear Circle Light

Now let’s try to remember one of the best movie Once Upon a Time in America.
Do you remember this iconic place?
Before

Next. let’s convert it into B/W. I used Nik Collection for it.

And finally - I applied Shades: White & Tan Dark preset to add movie look.

Once upon a time in America
Finally I took this shot. Do you remember this scene from the movie?
It was pretty hard because of hundreds of people around and to make it even harder - you need to be in the middle of the street which means in the middle of the road. So you need to catch the moment where there is no car and there is no people around.
Post processing was in LR with Serge Ramelli Signature presets and Nik Collection Silver Efex Pro filters.
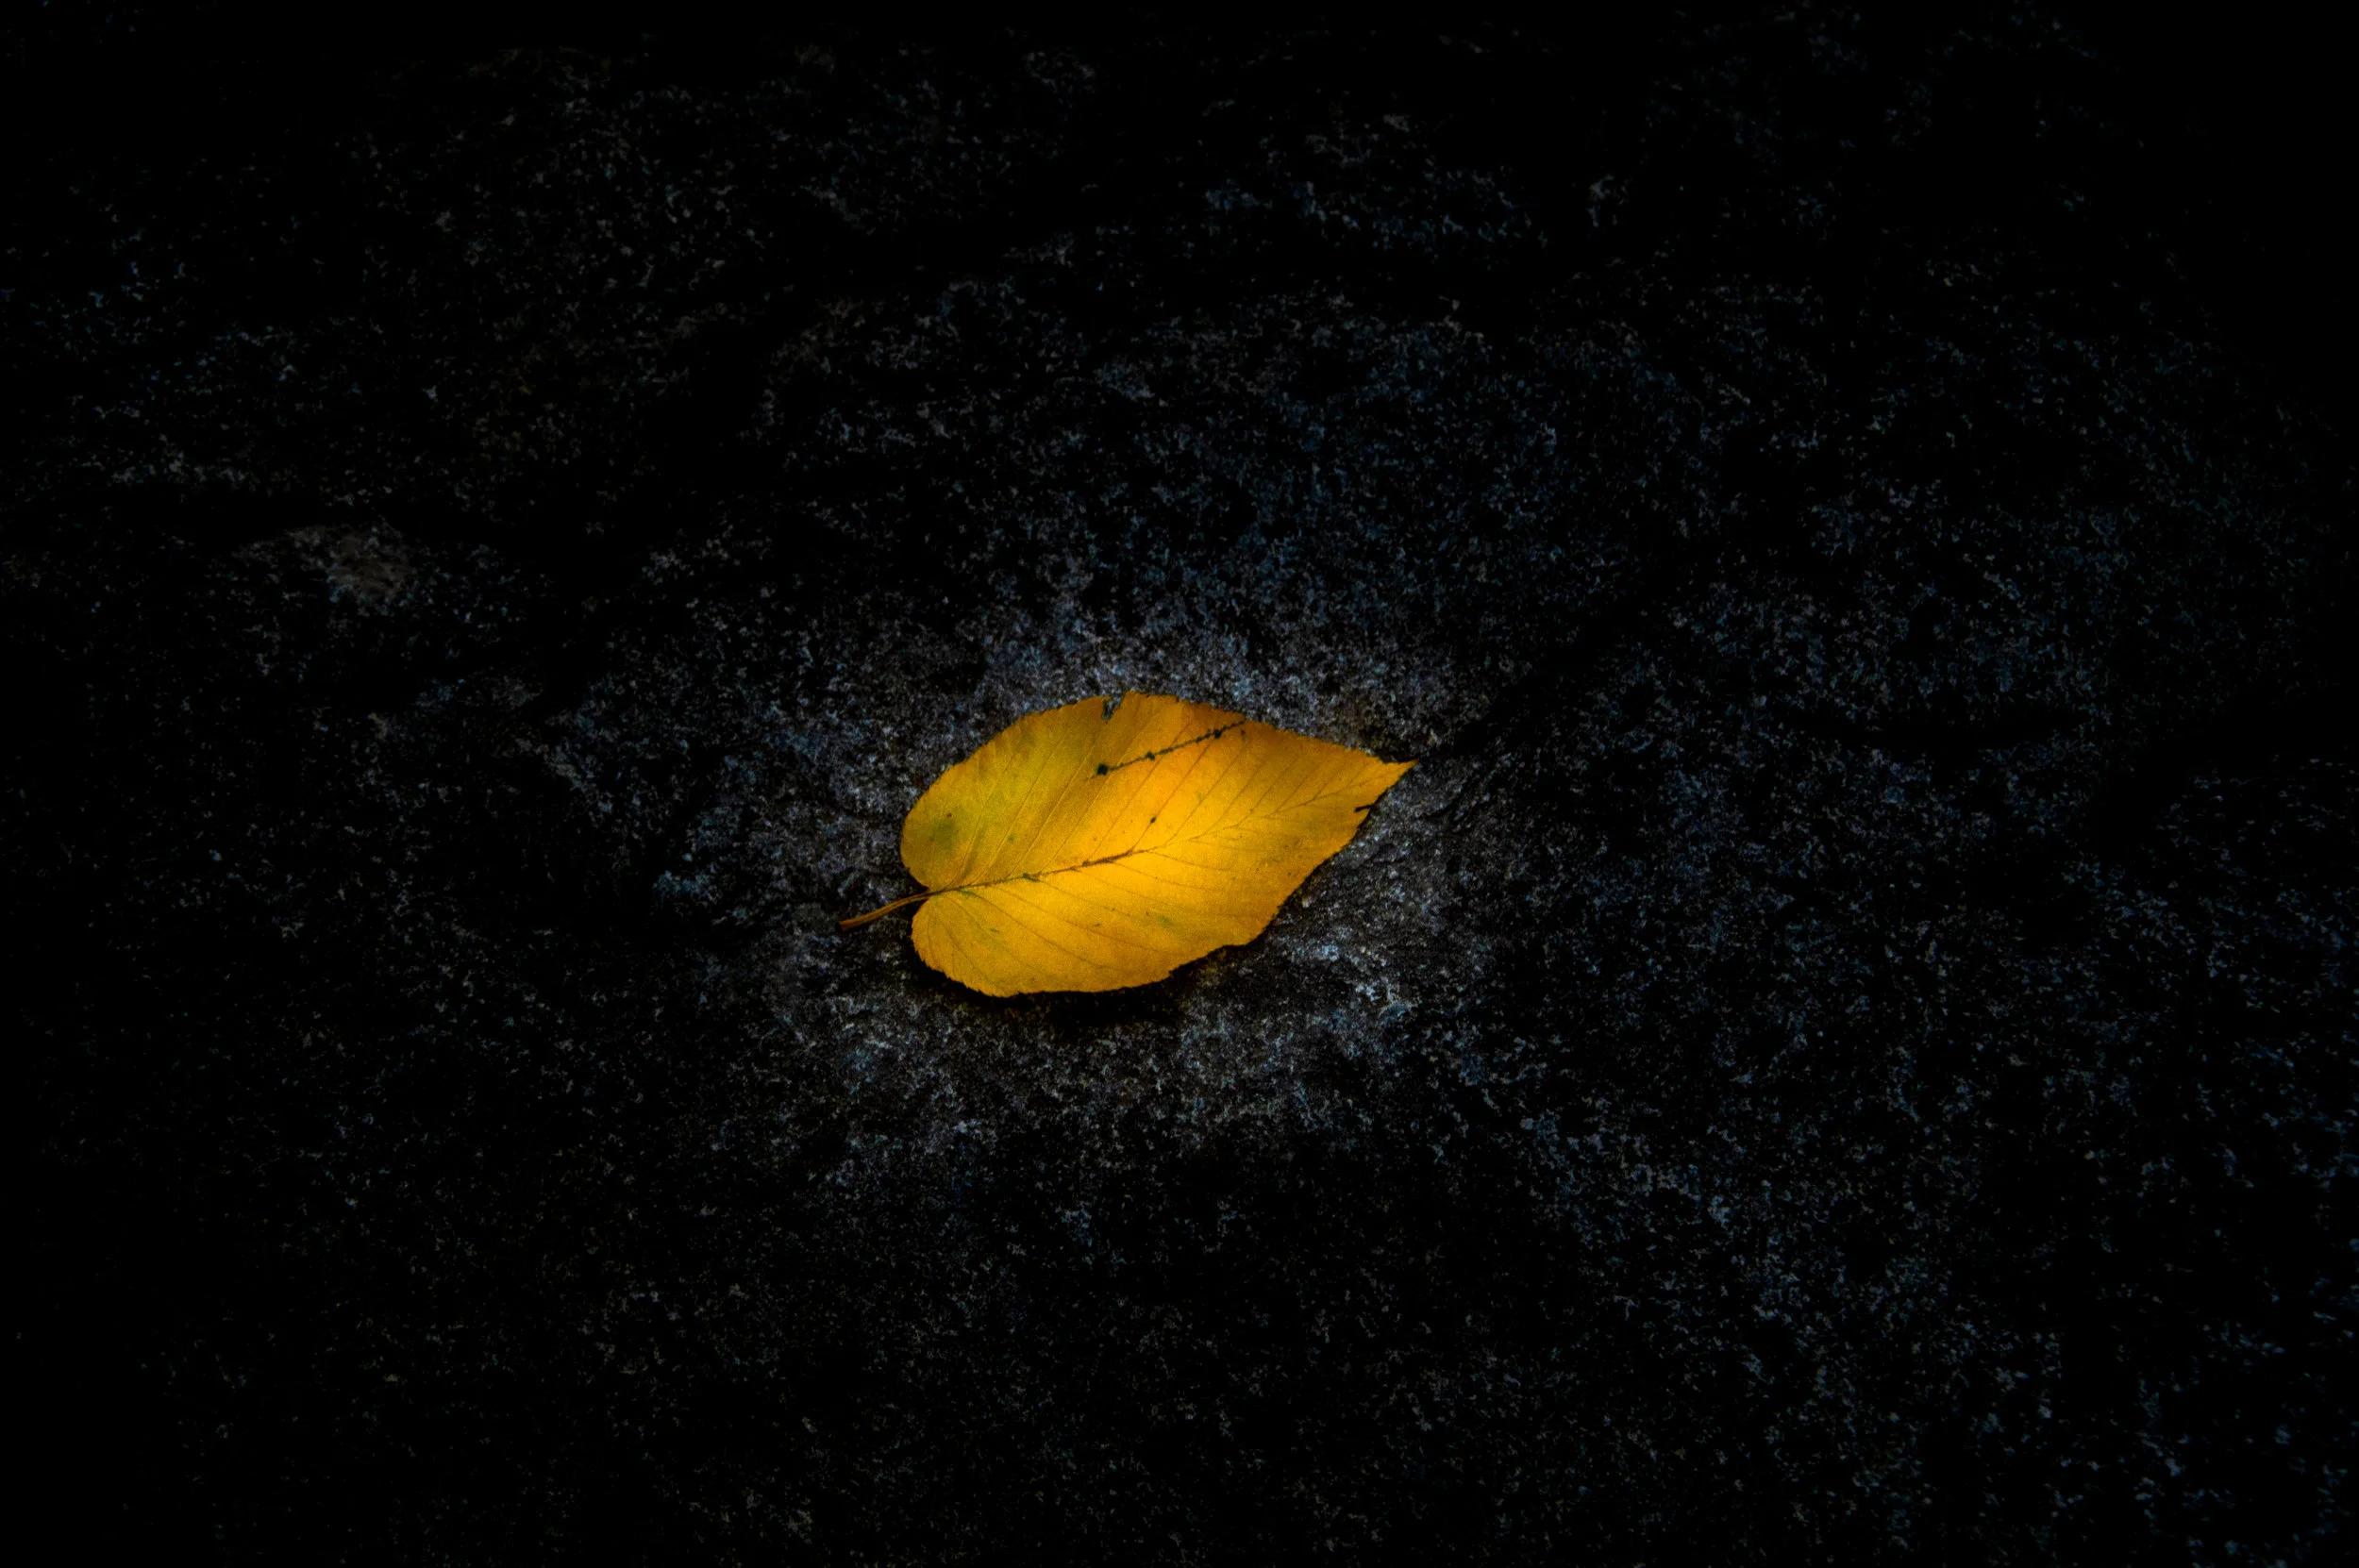
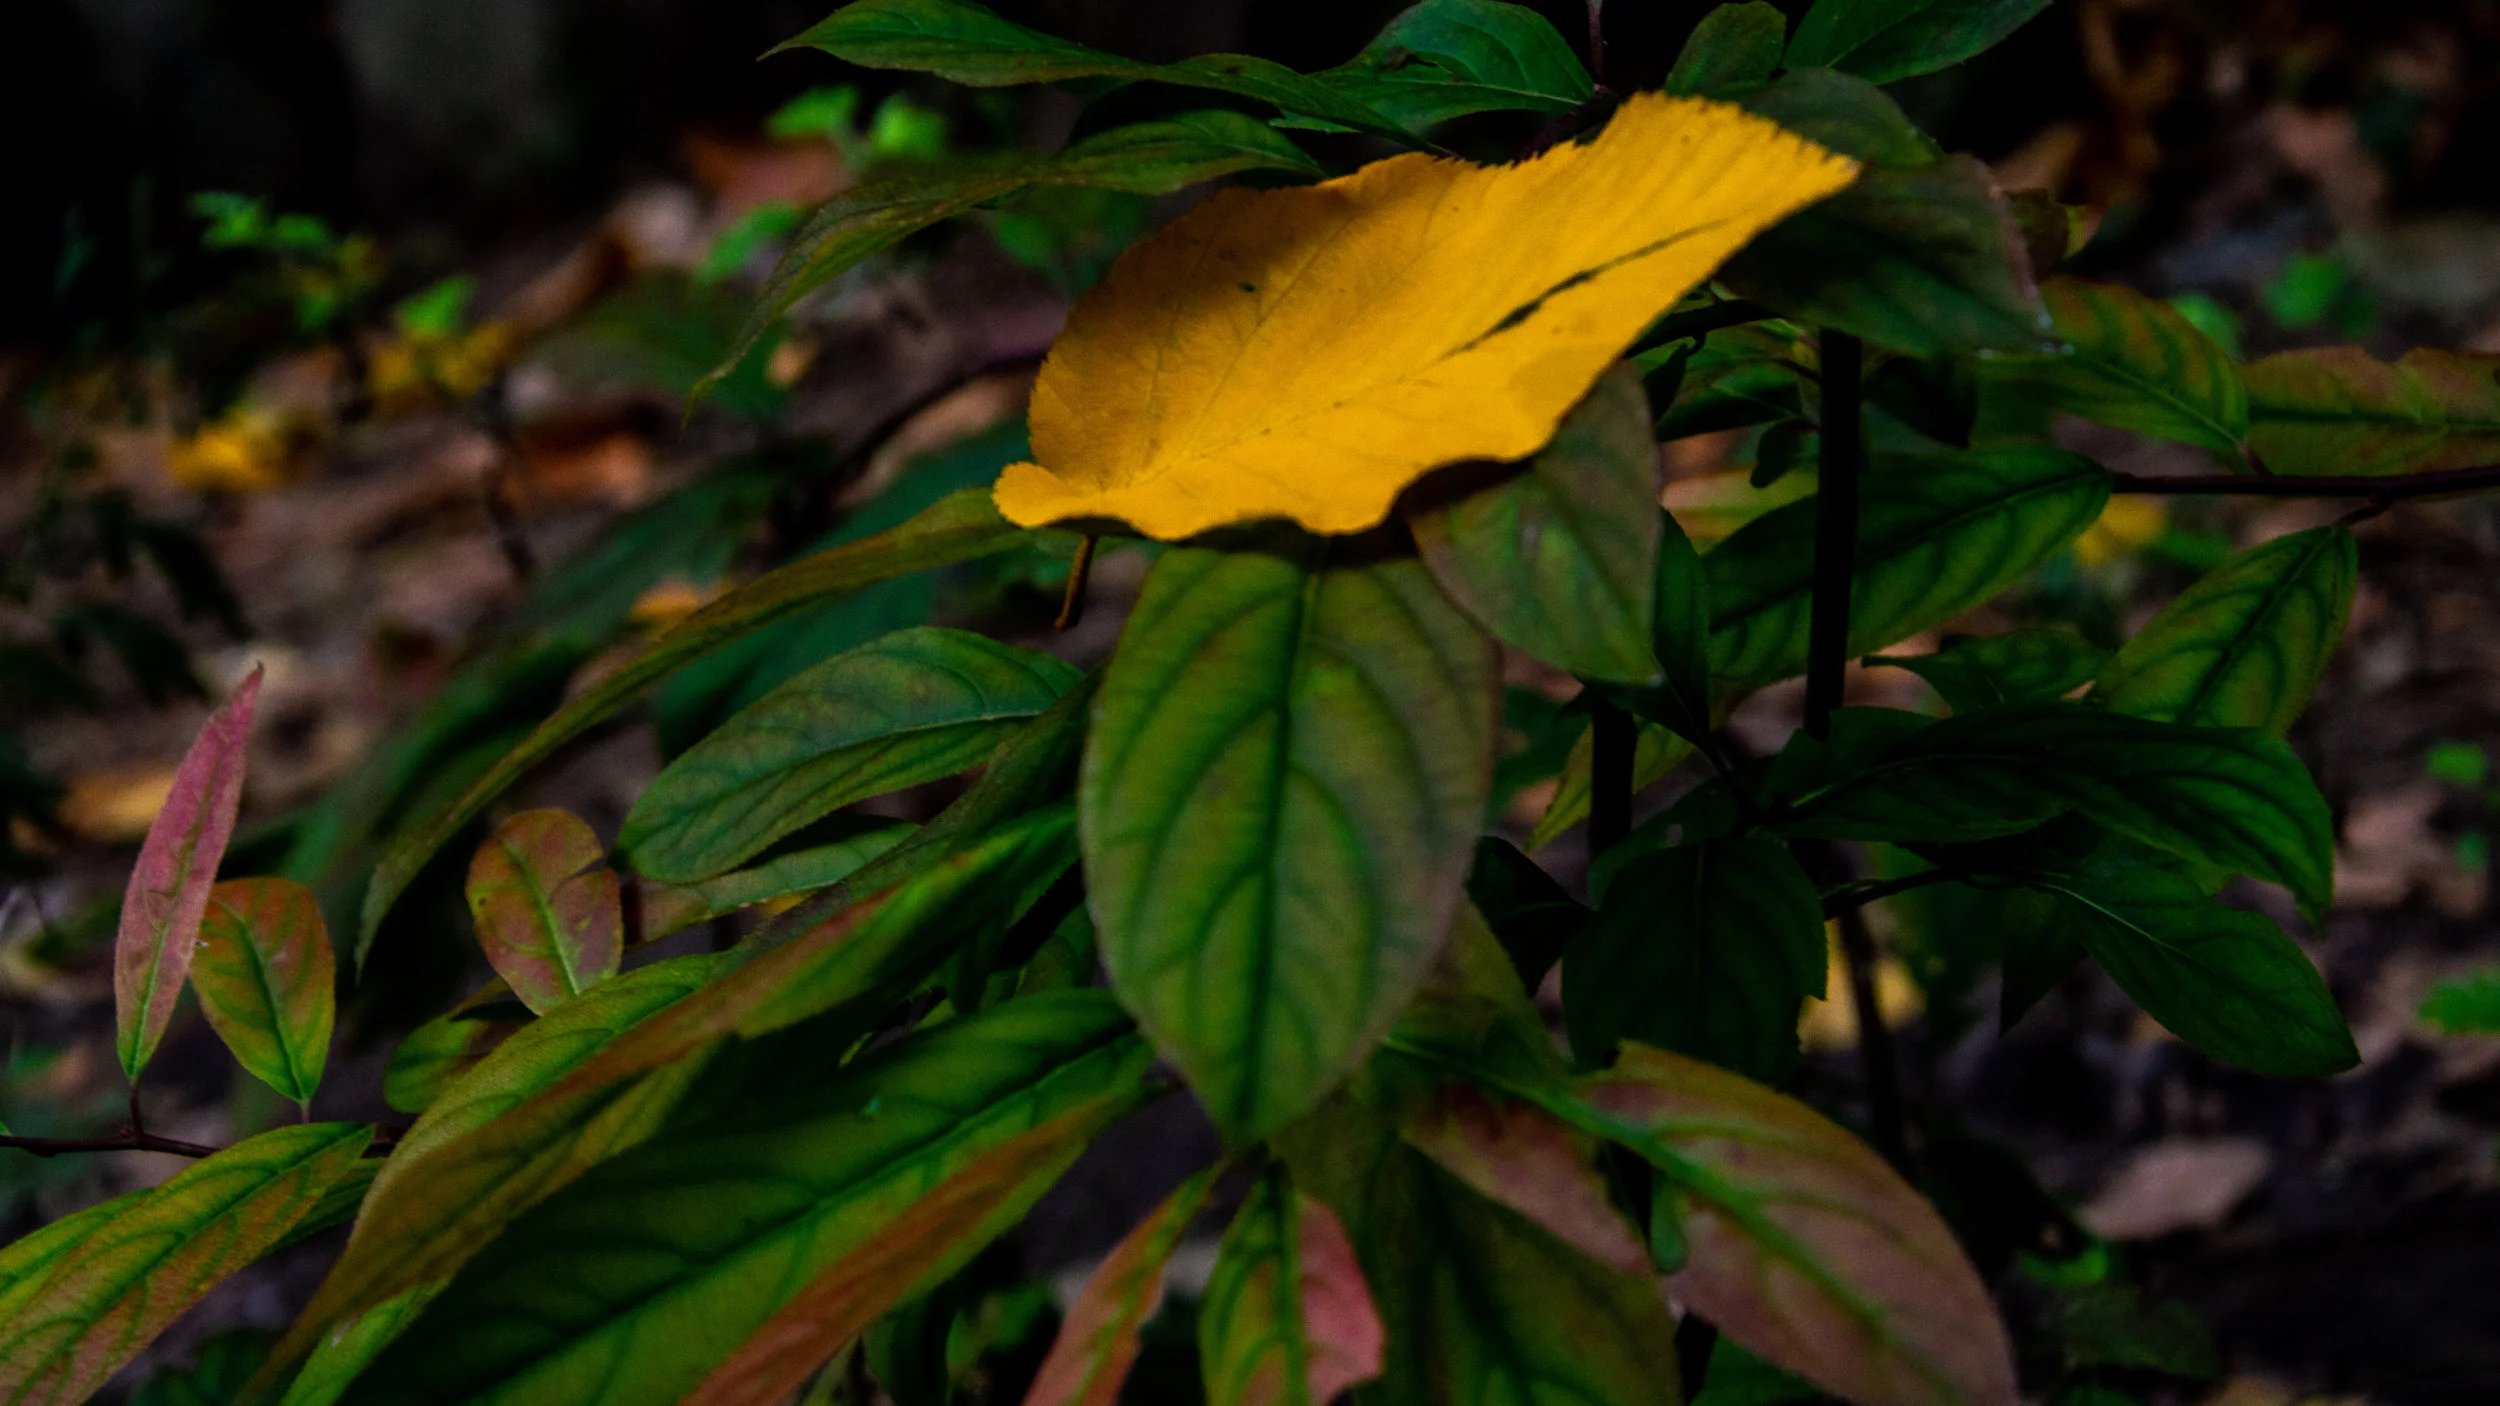
The last light of the summer
Tried to catch the the last light of the summer.
Post processing in LR.


Lightroom profiles for landscape photography
I want to show some landscape photos taken in New York Prospect park and Central parks with using Lightroom profiles.
As you might know in LR v.7 Adobe has introduced Profiles. It’s a very cool feature that allows completely change the whole image with just one click. Of course it’s doesn’t mean that you have to completely rely on it - it’s just a starting point. But it’s rather changes a mood of the image that can be emphasize by using LR post processing.
In these images I used Serge Ramelli LUT
So here it is


New York at sunset and after
On 11/4/2018 I met with one of the famous landscape photographer Serge Ramelli on a photowalk in Dumbo area in Brooklyn, NY.
I’m happy to show some new photos taken at this photowalk.


Foggy day over the beach
Just bought new ND filters and played with them:)

Foggy day - added haze in LR
Added drama Ancel Adams preset
How do I develop my photos
Post Processing with Sleeklens.com
Last week I've found a web site sleeklens.com that creates workflows (presets and brushes) for any type of photography - wedding, landscape, portrait, architecture, black and white, etc...
You might have seen a lot of presets on the Internet as well Adobe Lightroom own presets. In most of the cases after you applied them you need to adjust settings to achieve the result you want.
From my experience I've learnt do not expect a lot from the presets. But sleeklens landscape presets have prove that I was wrong.
This is a panorama created in Lightroom, unprocessed, taken in RAW.
Now let's get started.
Step 1 - All in One - Warm Shadows
Step 2 - Preset Base - Auto Tone Color
Step 3 - Brush Light Darken applied to darken a pavement to direct a view toward the waterfall
Step 4 - Preset Reduce Yellow - because I was using ND filter some yellow color comes up that needs to be removed to make the photo more realistic.
Step 5 - Brush Color - Cooler - let's add some blue color to the waterfall
And 2 final steps...
Step 6 Preset - Vignette Medium Black
And the final step 7 - Brush Strokes - Light Darken to remove some overexposed spots
Done...
From this -
To this -
In 7 steps.